5 Cool Ways to Decorate Your Pumpkin with No Mess
Love the look of decorative pumpkins but dread the slimy mess of carving? You're in luck. These five no-carve techniques will help you create stunning, sophisticated, and fun pumpkins without ever having to pick up a knife. They're perfect for a cozy afternoon craft project, are kid-friendly, and best of all, they leave your kitchen clean.
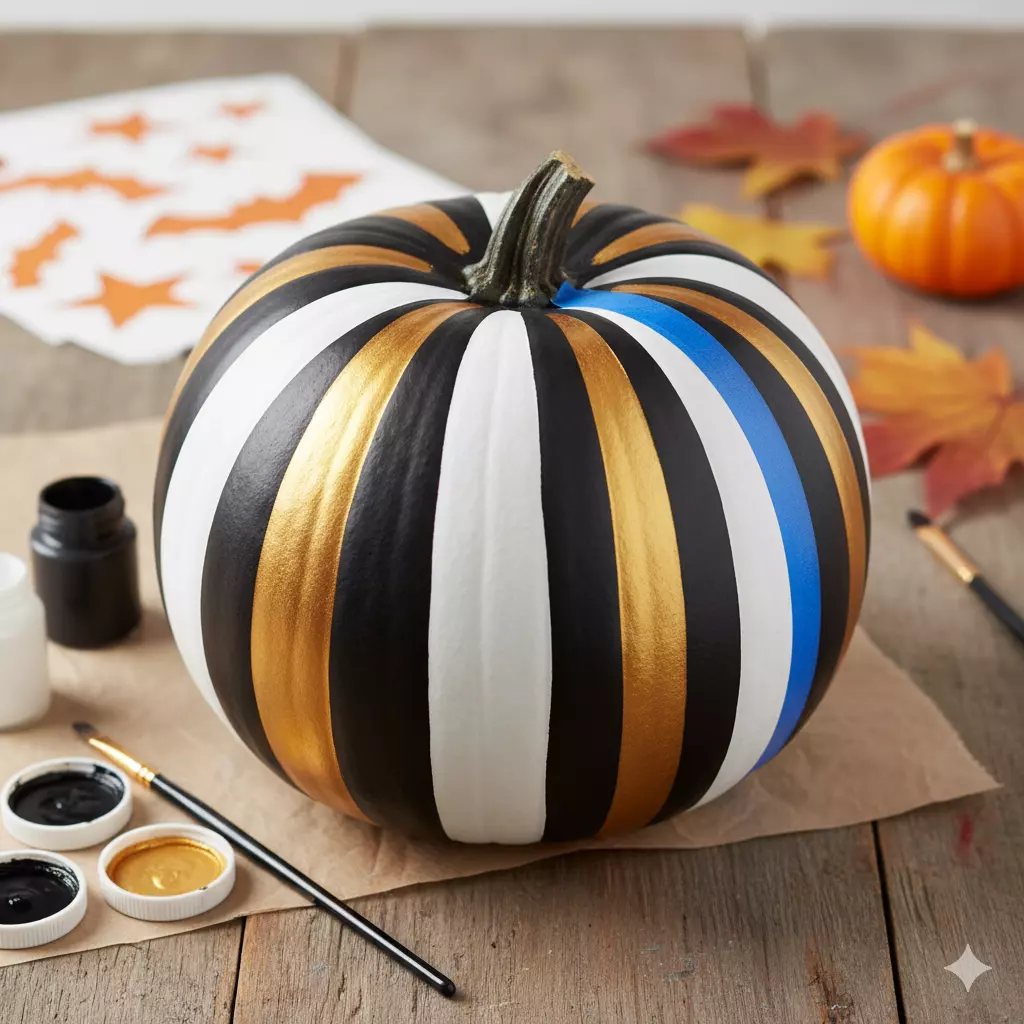
The Painted Pattern Pumpkin
The simplest way to transform your pumpkin is with a splash of color. Acrylic craft paint works best and dries quickly, meaning no sticky mess. You can go for a classic solid color like matte black, glossy white, or even a trendy metallic gold. Or get creative with patterns.
How to Do It:
First, wipe your pumpkin clean with a damp cloth and let it dry completely. For the best results, apply a base coat of white or black paint. Once that's dry, use painter's tape to create sharp, geometric patterns like stripes or color blocks. You can also use stencils for more intricate designs like stars, bats, or polka dots.
What You'll Need:
A pumpkin, acrylic craft paints, paintbrushes or foam brushes, painter's tape or stencils.
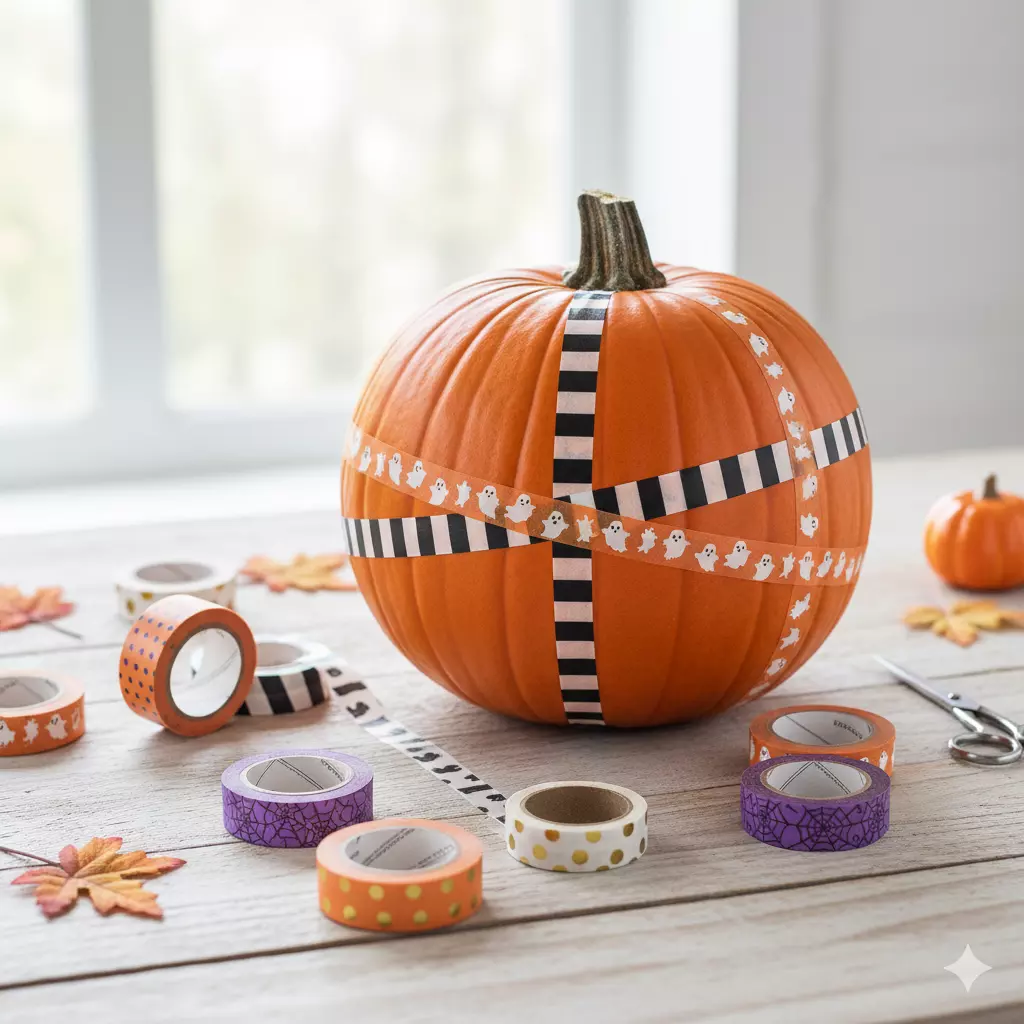
The Washi Tape Wonder
For a truly mess-free and renter-friendly option, look no further than Washi tape. This decorative paper tape comes in endless colors and patterns, is easy to apply and remove, and requires absolutely no drying time. It's a fantastic way to create precise, clean-lined designs with zero artistic skill required.
How to Do It:
Choose a few rolls of Halloween themed or complementary colored Washi tape. Simply press the tape onto the pumpkin, running it from the stem to the base to create vertical stripes. You can also wrap it horizontally or create fun crisscross patterns. Just smooth it down with your finger to ensure it adheres.
What You'll Need:
A pumpkin, various rolls of Washi tape, scissors.
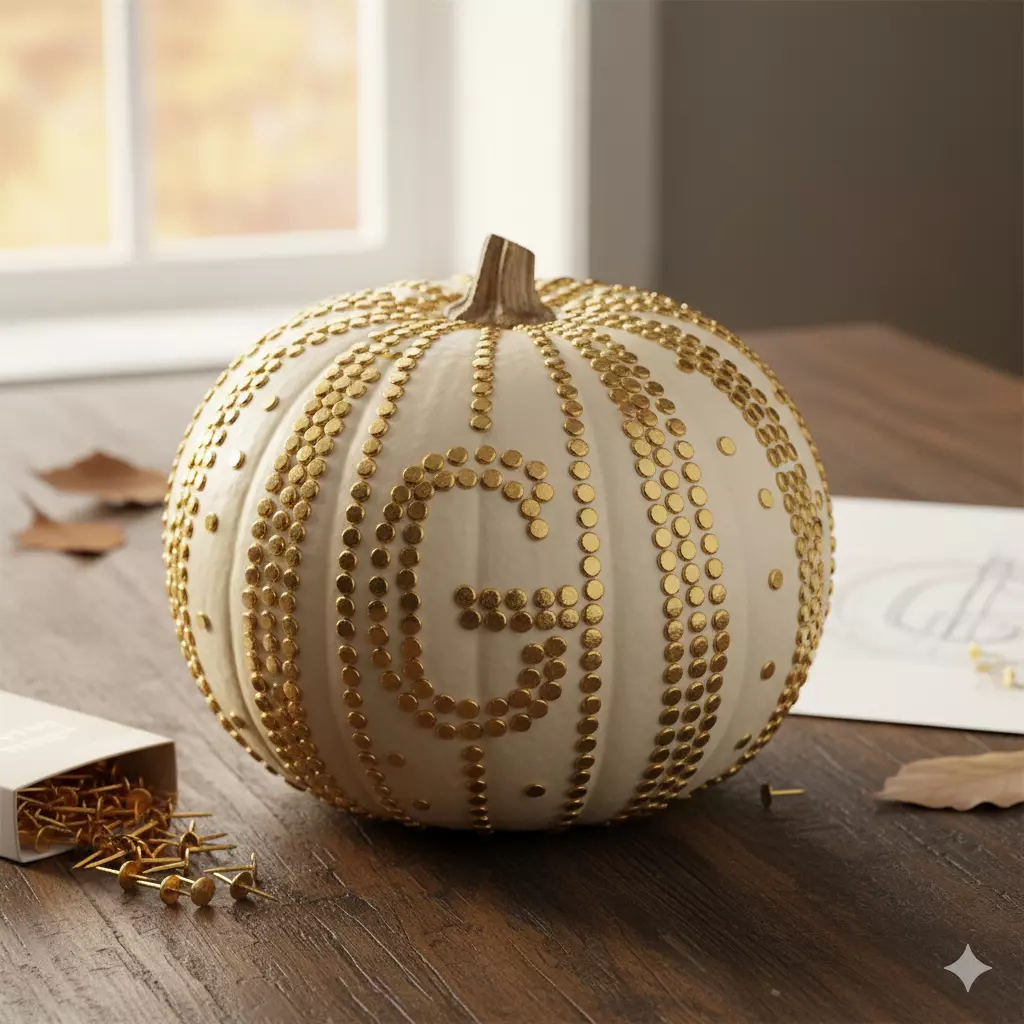
The Glamorous Thumb Tack Pumpkin
Add some industrial chic or glamorous sparkle to your pumpkin with decorative thumb tacks or nails. This method is incredibly simple but creates a high impact look with amazing texture. Gold, silver, or black tacks work beautifully for a sophisticated design.
How to Do It:
Plan out a simple design,polka dots, a monogram of your initial, stripes following the pumpkin's natural lines, or even spelling out "Boo." Then, simply push the tacks directly into the pumpkin's skin. The process is clean, satisfying, and results in a stunning, durable design.
What You'll Need:
A pumpkin, a box of metal thumb tacks
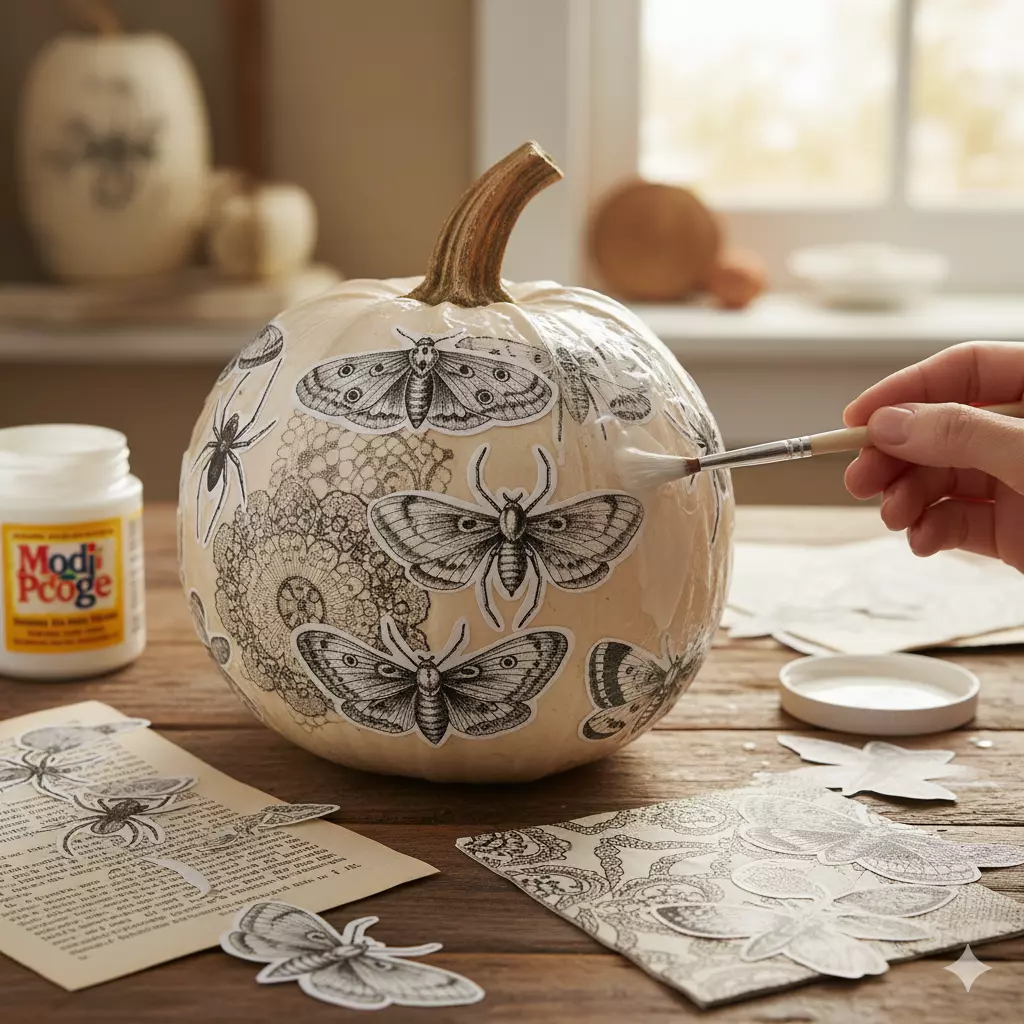
The Decoupage Masterpiece
Decoupage is a classic crafting technique that involves gluing paper cutouts onto a surface, and it works wonderfully on pumpkins. You can use decorative paper napkins, tissue paper, or even cutouts from old books or magazines to create a unique and artistic look.
How to Do It:
Cut out your desired shapes or patterns from decorative paper napkins or tissue paper. Apply a thin layer of Mod Podge to a section of your pumpkin. Place the paper cutout on top and gently smooth it down. Apply another thin layer of Mod Podge over the top to seal it. The glue dries clear, leaving a beautiful, permanent design.
What You'll Need:
A pumpkin, decorative paper napkins or tissue paper, Mod Podge, a small paintbrush.
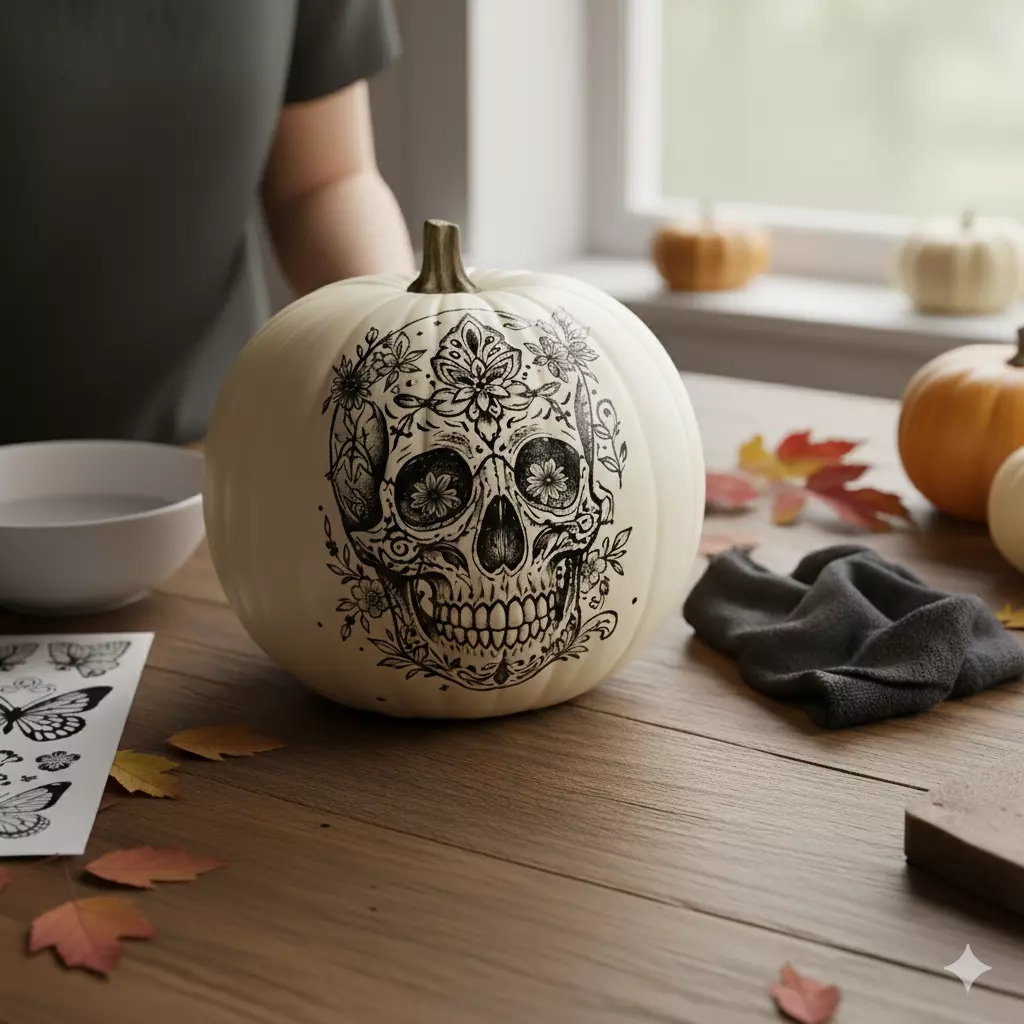
The Temporary Tattoo Pumpkin
This is by far the coolest and quickest trick in the book. Temporary tattoos aren't just for skin—they apply perfectly to a pumpkin's smooth surface, allowing you to add incredibly detailed and intricate designs in minutes with just a bit of water.
How to Do It:
Choose large temporary tattoos with dark, clear designs. Make sure your pumpkin is clean and dry. Peel the plastic layer off the tattoo, press it firmly onto the pumpkin, and hold a damp sponge or cloth against the paper backing for 30-60 seconds. Carefully peel the paper away to reveal your design!
What You'll Need:
A pumpkin, preferably a white or light-colored one, large temporary tattoos, a sponge or cloth.